Venturing through the arid, blighted lands of the Valley of Despair in Black Myth: Wukong, I had no idea that a single overlooked wall could hide one of the most important key items in Chapter 2. The Arhat Gold Piece is not just some random trinket—it’s the lynchpin that unlocks a secret area and eventually grants you the Wind Tamer, a vessel capable of neutralizing the Yellow Wind Sage’s deadly sandstorm attacks. But here’s the catch: it’s entirely missable if you aren’t paying close attention to your environment. I learned this the hard way, and I’m going to walk you through my own adventure so you don’t repeat my mistakes.
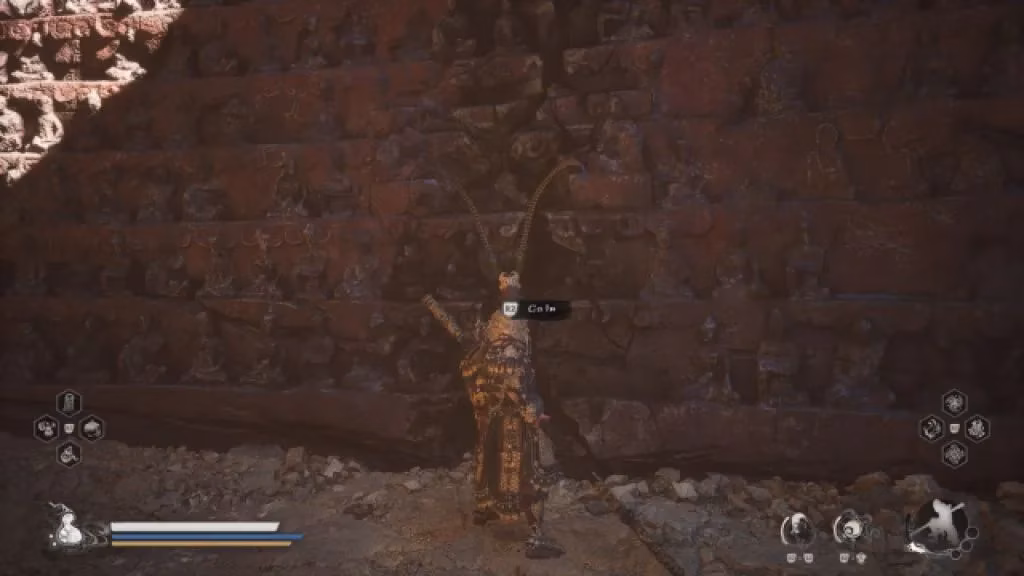
The quest begins near the Valley of Despair shrine, right after you defeat the First Prince of Flowing Sands. This colossal, rage-fueled boss charges at you like a living avalanche, and his arena is surrounded by rows of kneeling praying monks sculpted into the rock. I remember my first encounter vividly—it was a frantic dance of dodging his earth-shaking slams and trying to chip away at his health. During the fight, it’s crucial to bait him into destroying the wall adorned with those silent monks. The First Prince is aggressively relentless, so positioning yourself between him and that specific partition wasn’t as tough as I feared. Every time he lunged, I sidestepped toward the wall, and soon enough, his massive tackle shattered it, revealing a hidden grotto bathed in an ethereal glow.
But what if you, like me on my second playthrough, simply forget to use him as a battering ram? The battle was so intense that I defeated the Prince without ever breaking the wall. Panic set in. Was the Arhat Gold Piece lost forever? Thankfully, the game offers a clever safety net. After the boss is down, you can equip the Wandering Wight spirit. This fallen guardian is obtained earlier in Chapter 2, and its spirit ability delivers a colossal spectral punch. I warped back to the now-quiet arena, summoned the Wandering Wight, and aimed its earth-shattering blow at the intact wall of monks. With a thunderous crack, the stone crumbled, and the secret passage yawned open once again. It was a huge relief—this means the area stays accessible, and you’re free to return at any time to smash through with a spirit power.
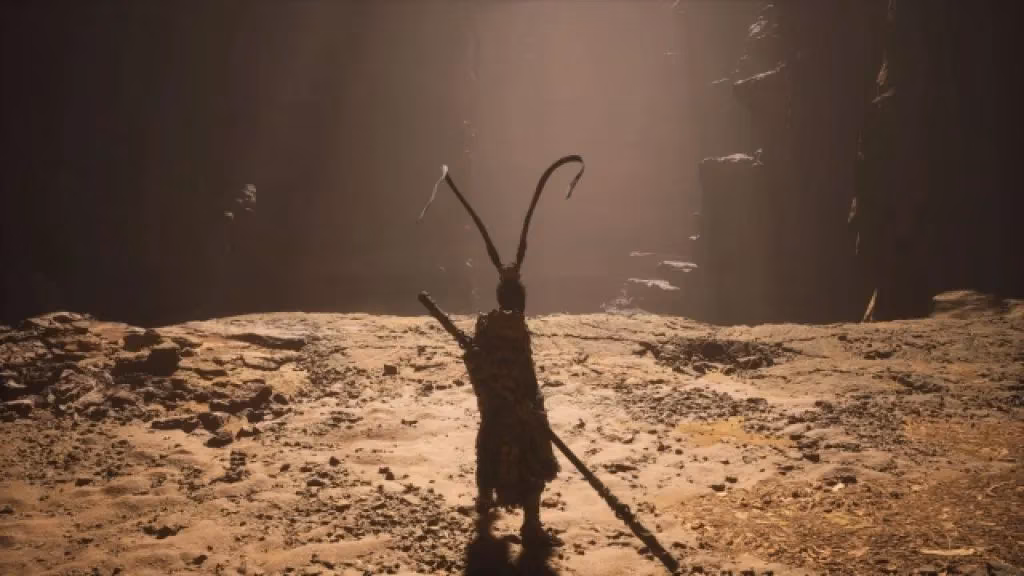
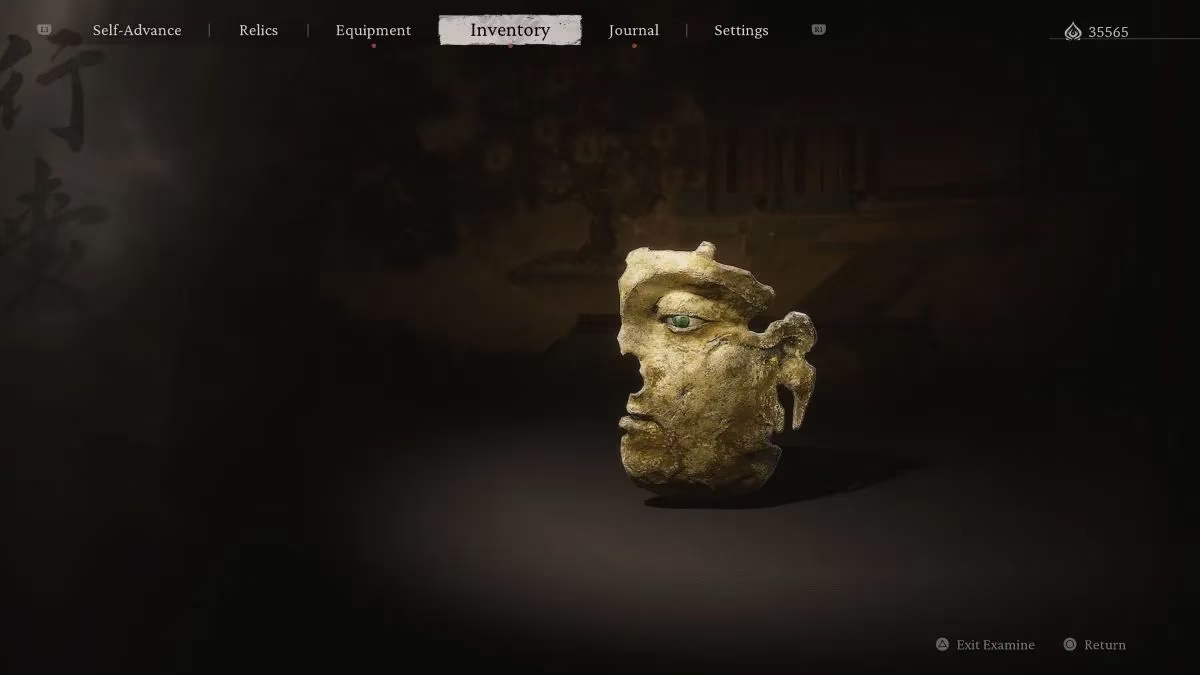
Stepping into the newly opened chamber, I was met with a hushed silence broken only by the distant drip of water. The space felt sacred, almost tomb-like. There was no enemy ambush, no trap—just a single ornate chest resting on a pedestal, as if waiting for centuries. Opening it, I received the Arhat Gold Piece, a weighty, intricately detailed gold token that hummed with latent energy. At first, its purpose wasn’t entirely clear. Inventory description hinted at a “quiet soul seeking reunion,” which only made sense much later when I began the Drunken Pig’s questline.
The Drunken Pig is a sorrowful NPC you meet in a small hut near the Rockrest Flat. He rambles about his lost brother and requests specific items to sober him up. Besides the Arhat Gold Piece, you’ll need two Sobering Stones and a Jade Lotus. Collecting these took me across the entire map—the Sobering Stones are scattered near pools of crystal-clear water in the Sandgate Village area, and the Jade Lotus grows on the cliffs above the Crouching Tiger Temple. Once I had everything, the Drunken Pig guided me back to where his quest originally started, where we encountered his brother, the Yellow-Robed Squire. Here, the Arhat Gold Piece acted as a key; without it, the reunion would fail, and the secret area would remain locked.
Accessing that secret domain is how you ultimately acquire the Wind Tamer, a magical artifact that suppresses the Yellow Wind Sage’s oppressive gales. Anyone who has fought this final Chapter 2 boss knows how brutal his cyclone attacks are—they obscure your vision, shred your health, and can turn a promising run into a disaster in seconds. The Wind Tamer isn’t mandatory for victory, but it levels the playing field dramatically. It dissipates his wind and sand barriers, giving you clear windows to unleash your heavy combos and immobilize him with a well-timed spell. For me, it was the difference between a dozen frustrating deaths and a triumphant, hard-earned win.
In hindsight, the Arhat Gold Piece isn’t just a static collectible. It’s a lesson in environmental storytelling and the value of thorough exploration. Black Myth: Wukong rewards curiosity with items that have cascading effects on later challenges. Even the missable nature of the piece adds to the world’s verisimilitude—if you rush through, you miss out. So, heed my tale: bait the First Prince into breaking the wall, or come back later with the Wandering Wight, but do not leave the Valley of Despair without that gleaming golden piece. Your journey through the desert’s secrets depends on it, and so does your sanity when the Yellow Wind Sage kicks up his storm.