I remember stepping into the Yellow Wind Ridge, the dust of the badlands already coating my fur. Chapter 1 had been a warm-up, a taste of the power I once held. But this? This was the real deal. The training wheels were well and truly off. As the Destined One, my mission was clear, but the path was a tangled web of secrets, side quests, and some of the most punishing bosses I'd ever faced. Let me take you through my harrowing, exhilarating journey through Black Myth: Wukong's second chapter.
My adventure began, as they often do, in a dusty village. Sandgate Village was my first port of call, but the main gate was sealed shut. No matter—I've never been one for front doors. I took a detour, fought my way past some pesky Rat Archers, and found myself in a ditch where I met a peculiar character: Xu Dog. This medicine maker was in a real pickle. His formula had been swallowed whole by a giant frog named Lang-Li-Guhh-Baw. Talk about a bad day! Having dealt with his cousin back in Chapter 1, I knew the drill. A few well-timed dodges and some lightning-fast strikes later (he had a few shocking moves of his own), and the frog was toast. Helping Xu Dog paid off big time—he granted me the ability to craft medicines at Shrines. A true lifesaver, that one.
Back in the village, I found the backdoor guarded by two hulking Rat Captains. These guys were no joke, and they had a nasty habit of exploding upon defeat. I overheard some chatter in a hut about a third, missing Captain. A mystery for another time. Pushing past them, I encountered Earth Wolf. His spirit, once absorbed, became an absolute game-changer for crowd control, perfect for knocking enemies around like bowling pins. Nearby, a horse named Guai Ma Tianba was tied up—a future ally, I was sure of it. And then there was the well. A deep, dark hole I couldn't enter yet, but something told me I'd be back. The memory of an Old Rattle-Drum would haunt me until I solved its puzzle.
The main event in the village was a royal rumble against the King and Second Prince of Flowing Sands. My strategy? Focus fire on the Second Prince. That guy was the real menace, all aggressive swipes and powerful lunges. The King mostly just hurled insults and the occasional rock. Taking down the Prince first caused the King to flee like a coward. If you do it the other way around, the Prince goes berserk—learned that the hard way on my first attempt. Not fun.
After that scuffle, I followed a trail of torches to a thin bridge, where a spitting Yaoguai stood guard. I sprinted past him, found a crack in the wall, and squeezed through into the Crouching Tiger Temple. The atmosphere was thick with menace, culminating in a pool of blood and the legendary Tiger Vanguard. Man, oh man. This guy was my first real wall. He's infamous for a reason. His sword combos are relentless, and his second phase, where he vanishes and ambushes you, had me sweating bullets. I must have died a dozen times. My pro-tip? The Serpentscale armour is a godsend here. It heals you when your health is low and reduces stamina cost in water (or blood, in this case). Beating him was a rush like no other, rewarding me with the Keeness of Tiger and the Rock Solid parry spell. What a fight!
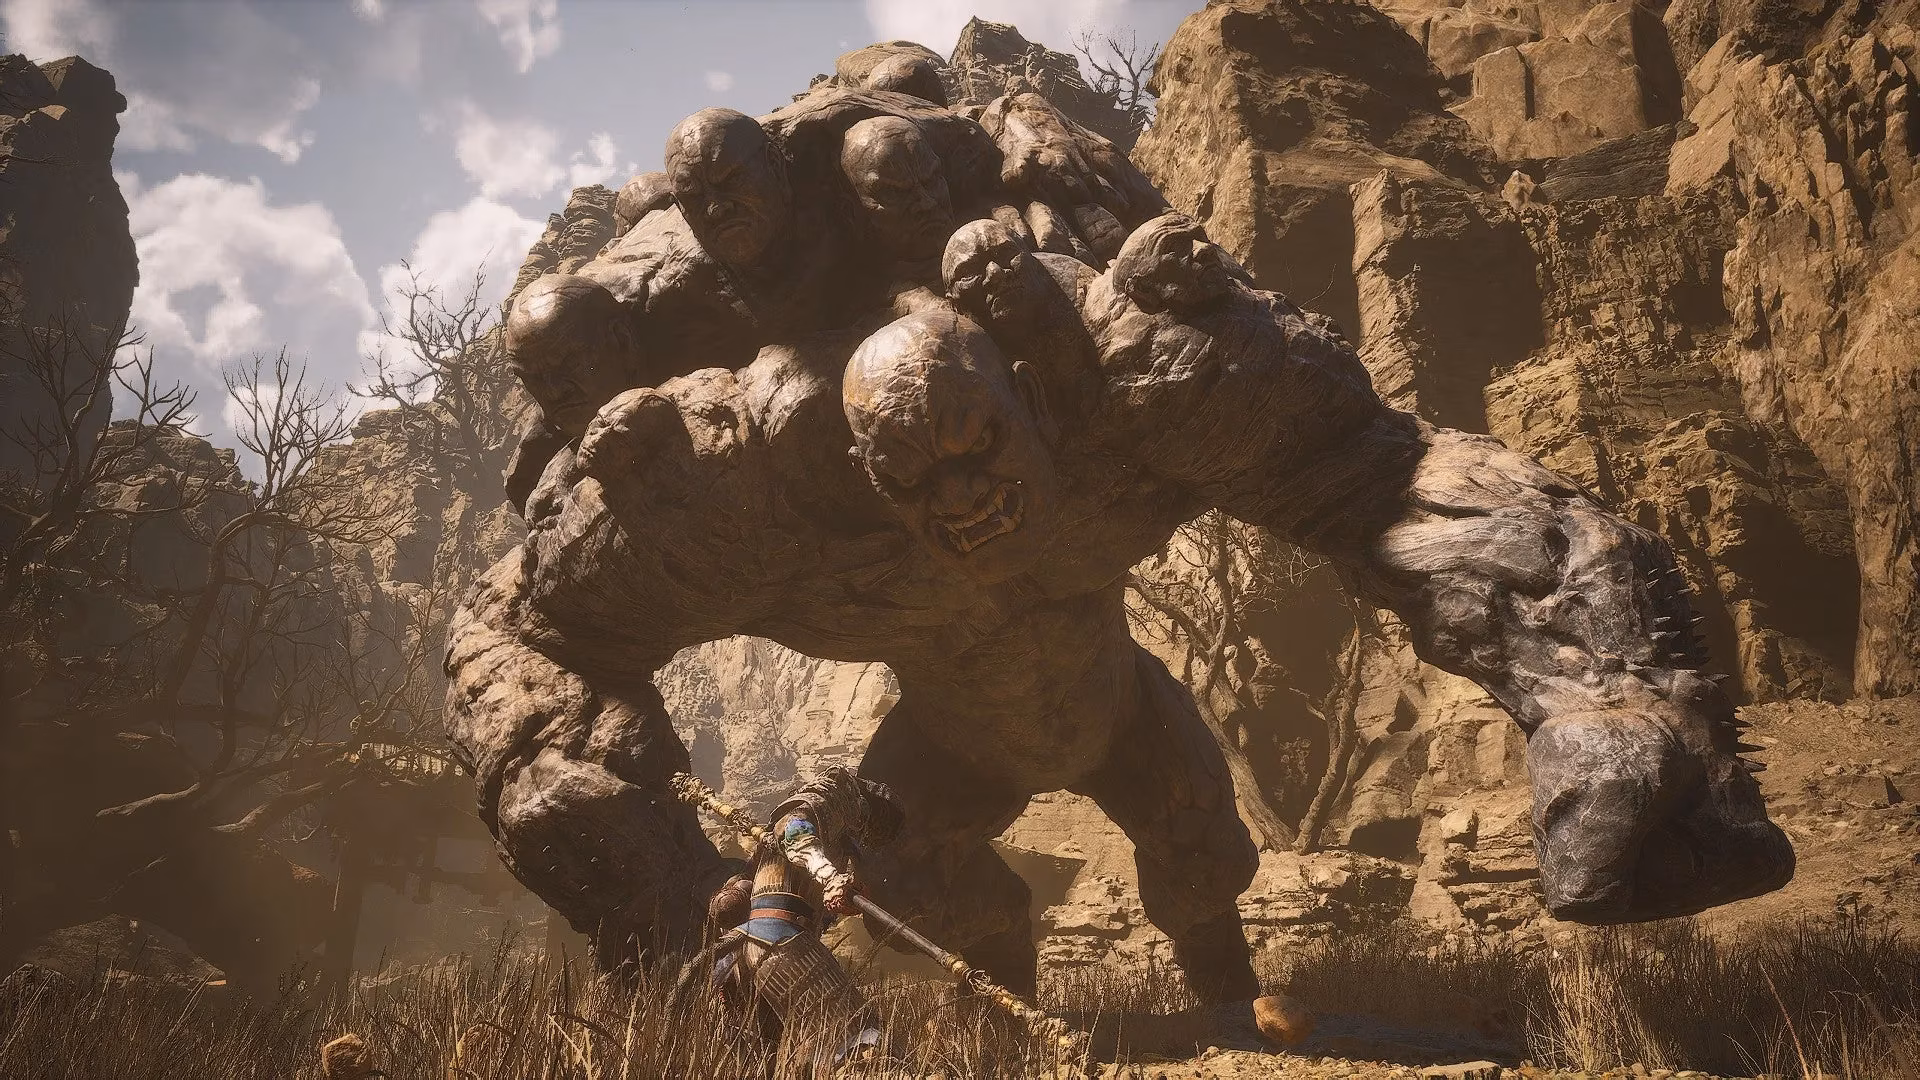
But the temple was just one path. The other led to Fright Cliff, a sprawling, interconnected maze of quests. Here's where things got really interesting. The area was littered with decapitated Buddha heads. Collecting their eyeballs (a bit macabre, I know) led me to resurrect Shigandang, a secret stone Yaoguai King. The coolest part? If you haven't fought the area's other rock boss, Stone Vanguard, resurrecting Shigandang makes the two of them duke it out in an epic kaiju battle! I just stood back and watched the spectacle. Absolutely legendary.
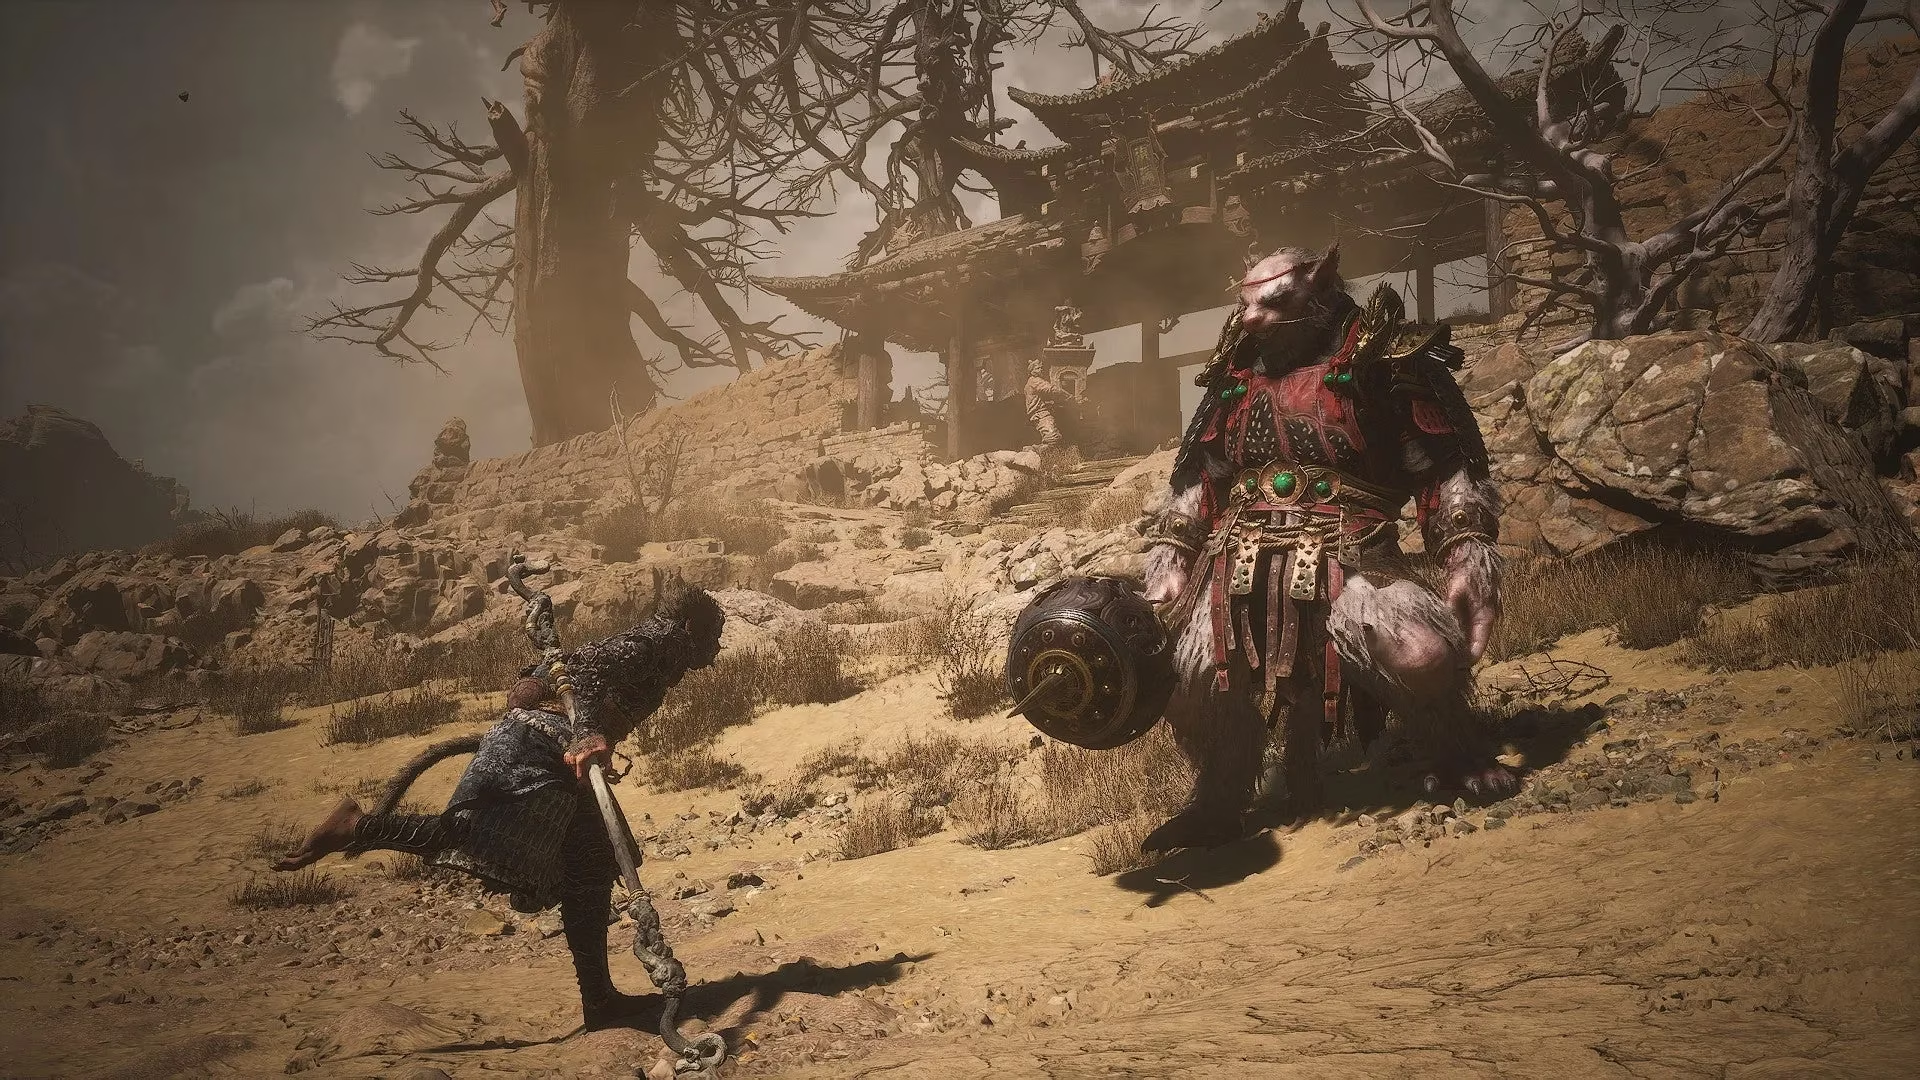
Fright Cliff was also home to the Man-In-Stone questline, which eventually netted me the Azure Dust Transformation—turning into a rock monster is as fun as it sounds. But the key to everything was a drunken boar I found lounging around: the Yellow-Robed Squire. By running errands for him (fetching wine, dealing with his... issues), I unlocked the path to the Kingdom of Sahālī, a hidden memory of the land's past. This optional area housed a weaker version of Tiger Vanguard and a cinematic showdown with a giant beetle, Fuban. Beating Fuban gifted me the Wind Tamer, a tool I had a feeling would be crucial later.
Speaking of crucial tools, remember that well in Sandgate Village? After defeating Tiger's Acolyte on a perilous bridge in Windrest Hamlet (don't fall off!), I got the Old Rattle-Drum. Returning to the well, I descended into its depths to face the Mad Tiger. Using my new Azure Dust transformation and the A Pluck of Many spell (which creates clones of yourself—so cool!), I put the frenzied beast down for good.
The final piece of the puzzle was the Cellar. To access it, I needed both the Keeness of Tiger and the Sterness of Stone from the two Vanguards. Draining the blood pool in the temple revealed a tiger's mouth leading down. Inside, I was greeted by my headless singer companion, who finally bestowed upon me A Pluck of Many. This spell, creating duplicates of myself, became my go-to for tough fights. Xu Dog also set up shop here, proving himself a reliable, if eccentric, ally.
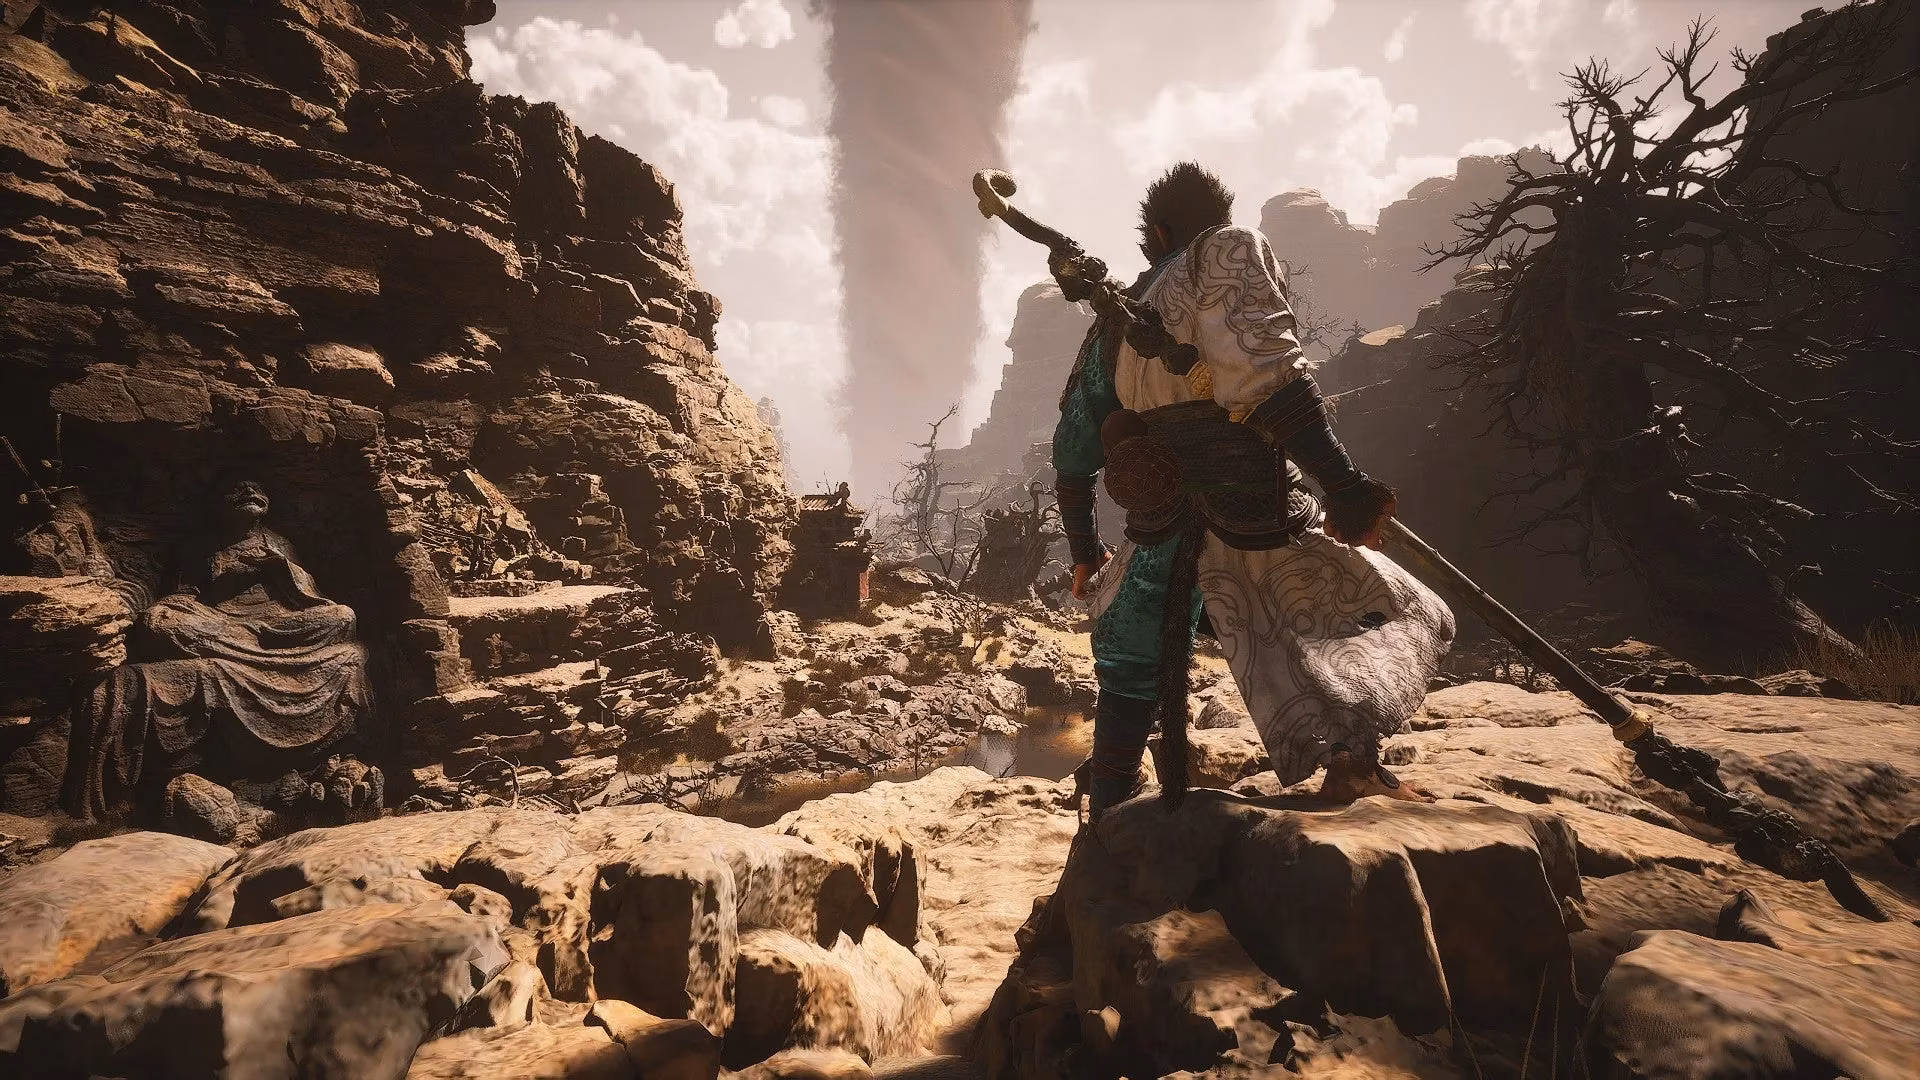
And then, it was time. The final challenge: the Yellow Wind Sage. This guy was the whole package—aggressive staff combos, summoned sandstorms, and a tornado for a finale. It was a brutal test of everything I'd learned. The Wind Tamer from the Kingdom of Sahālī was the key. I chose to save it for his final, desperate tornado, using it to disperse the storm and land the final blows. The victory was sweet, and the reveal of the headless singer's true identity... well, that's a story for another time.
Looking back, Chapter 2 was a masterclass in non-linear, interconnected design. From the rat-infested villages to the wind-swept cliffs, every corner held a secret, every boss taught a lesson. It was tough as nails, but man, was it satisfying. The Yellow Wind Ridge is a place I won't soon forget.
My Chapter 2 Boss Hit List & Loot:
| Boss | Location | Key Reward | Difficulty (Out of 5) |
|---|---|---|---|
| Lang-Li-Guhh-Baw | Near Xu Dog | Medicine Crafting | ⭐⭐ |
| Earth Wolf | Sandgate Village | Earth Wolf Spirit | ⭐⭐ |
| King & Second Prince | Sandgate Village | Pungent Flesh Chunk | ⭐⭐⭐ |
| First Prince of Flowing Sands | Valley Crevasse | Loong Scales | ⭐⭐⭐ |
| Tiger Vanguard | Crouching Tiger Temple | Keeness of Tiger, Rock Solid | ⭐⭐⭐⭐⭐ |
| Stone Vanguard | Fright Cliff | Sterness of Stone | ⭐⭐⭐ |
| Shigandang | Fright Cliff (Secret) | Skandha of Feeling | ⭐⭐⭐⭐ |
| Black Loong | Hidden Loong Cavern | Loong Materials | ⭐⭐⭐⭐ |
| Tiger's Acolyte | Windrest Hamlet | Old Rattle-Drum | ⭐⭐⭐ |
| Mad Tiger | Bottom of the Well | Mad Tiger Spirit | ⭐⭐⭐⭐ |
| Yellow Wind Sage | Desert Arena | Chapter Completion | ⭐⭐⭐⭐⭐ |
What a ride. On to Chapter 3! 🐒✨